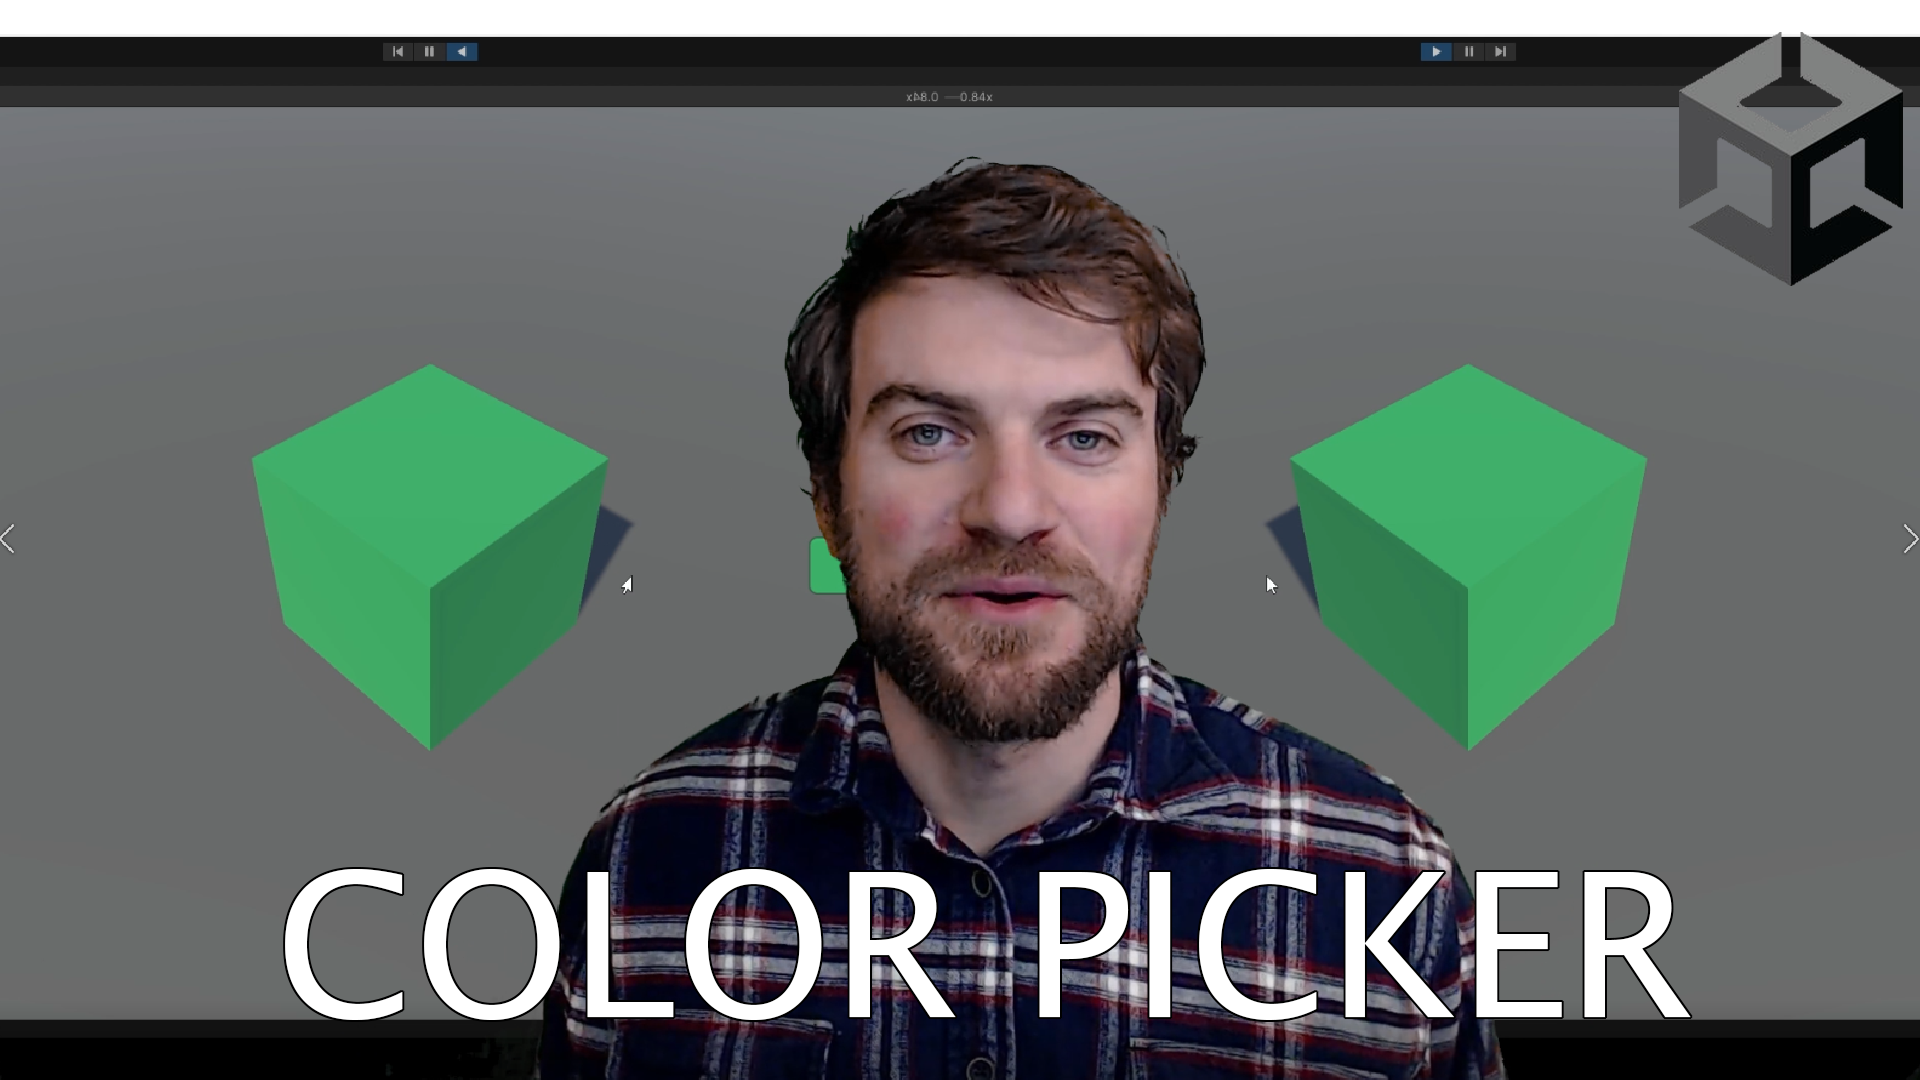
Color Picker
This will allow your players to pick any color they want after which you can use that color for whatever application you want.
For this tutorial, I will show you how to create a color picker menu option in Unity. This will allow the players of your game to pick any color which can then be used for a number of different applications. You can have it change the color of an avatar’s clothes or hair. It could change the color of a car or a paintbrush like in Photoshop. The cool thing about this mechanic is that you don’t have to limit the players on what color they choose.
The way to create a color pick is that you first need to have a good texture 2D of a color wheel or pallet. If you need one you can download this Image.

You will then need to set up an event trigger on this image where you can take in the player’s mouse position. with this mouse position on this image, we can then get the pixel color at that position. Once you have the pixel color, you can use that color for whatever application you want.
ColorPickButton.cs
using UnityEngine;
using UnityEngine.Events;
using UnityEngine.EventSystems;
using UnityEngine.UI;

namespace InfoGamerHubAssets {

    public class ColorPickButton : MonoBehaviour
    {
        public UnityEvent<Color> ColorPickerEvent;

        [SerializeField] Texture2D colorChart;
        [SerializeField] GameObject chart;

        [SerializeField] RectTransform cursor;
        [SerializeField] Image button;
        [SerializeField] Image cursorColor;


        public void PickColor(BaseEventData data)
        {
            PointerEventData pointer = data as PointerEventData;

            cursor.position = pointer.position;

            Color pickedColor = colorChart.GetPixel((int)(cursor.localPosition.x * (colorChart.width / transform.GetChild(0).GetComponent<RectTransform>().rect.width)), (int)(cursor.localPosition.y * (colorChart.height / transform.GetChild(0).GetComponent<RectTransform>().rect.height)));
            button.color = pickedColor;
            cursorColor.color = pickedColor;
            ColorPickerEvent.Invoke(pickedColor);
        }
    }
}
DemoColorPicker.cs
using System.Collections;
using System.Collections.Generic;
using UnityEngine;

namespace DmeoInfoGamerHubAssets
{
    public class DemoColorPicker : MonoBehaviour
    {
        public void SetColor(Color newColor)
        {
            GetComponent<MeshRenderer>().material.color = newColor;
            //Debug.Log(newColor);
        }
    }
}