
Welcome to this tutorial series on how to convert your games into online multiplayers. We will be using our Pong Unity project for this series and we will turn it into a networked multiplayer game. This series will teach you general principles that can be applied to any game you want to convert from single-player into a networked multiplayer game.
If you are not familiar with Pong and would to play it first, you can play our version here.
Preparation for making Pong Multiplayer
Setting up your project
I will already assume you have the basics (Computer, Internet, Unity…) however you will also need your own version of Pong for Unity. You can either create your own by following along with our basic Pong tutorial series or you can purchase it already premade from our asset store here. (If you are a member this product is free)
If you already have your own version of Pong you can go ahead and open it up in Unity but if you are purchasing our version from the store then you will need to import the Unity package into a new project. After importing, you will need to set up the build order for your scenes. Go to File>Build Setting then add the MainMenu scene to the Scene in Build so it has the scene index of 0. Then add the GameScene so it has the scene index of 1.
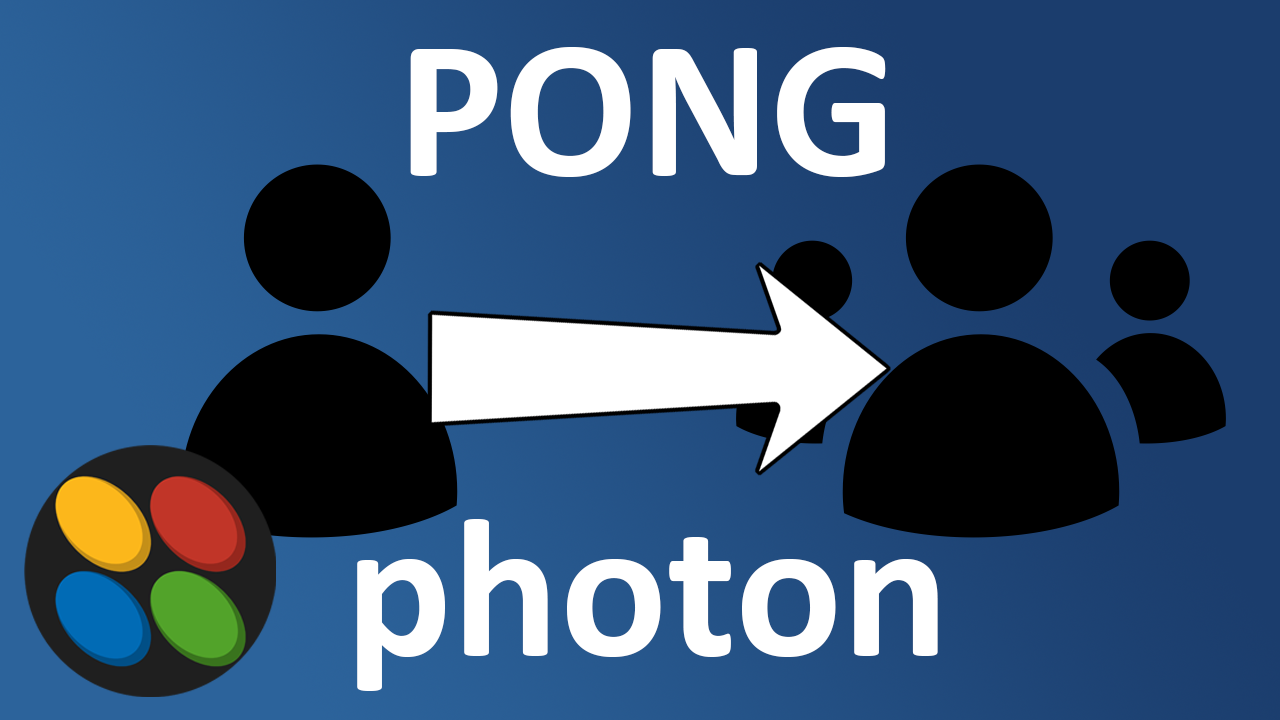
Setting up Photon PUN
Once you have your Unity project set up we then need to import the Photon PUN 2 plugin. To do this you will want to open up the Unity Asset Store and search PUN 2. You can then select the free version and you will need to click Import. After it is finished loading there should be an import window that pops up. To avoid getting any errors, you can just click Import with everything selected (This may take a second).
After you have imported the Photon PUN 2 plugin, it is time to connect your Unity project to a Photon project. To do this you will need to go to https://www.photonengine.com/. Here you will need to create a new account if you do not have one already (they are free), or you can log in if you do have an account. In the Photon Dashboard, you will need to create a new app. For Photon Type select Photon PUN, give your app a name and fill in the rest of the information, after which click Create. You will then need to copy the App ID of your newly created project and go back to Unity.
Inside Unity go to Window > Photon Unity Network > setup which will open a new window. Inside this window paste in your App ID and then click Setup Project. This will connect your Unity Project to your Photon App. Now we are ready to start networking and converting our Pong game into a networked multiplayer game.
