
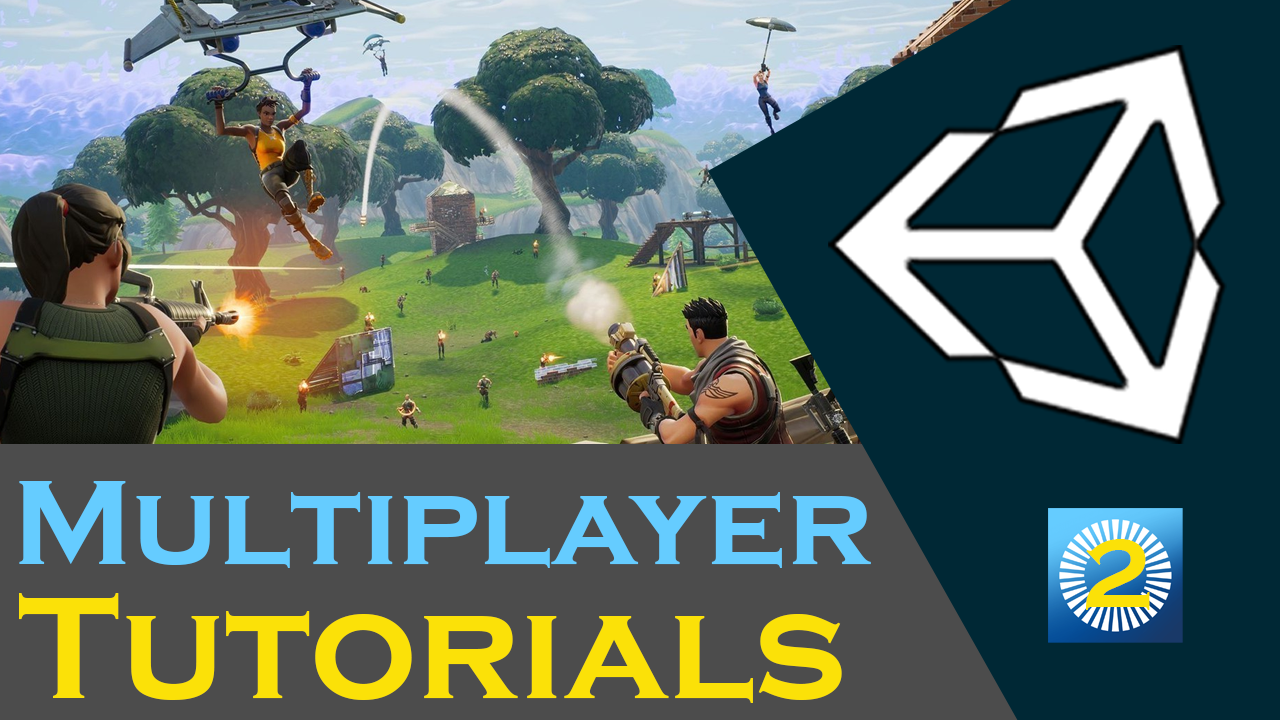
PUN 2 Matchmaking Add-on
This download includes QuickStart, DelayStart, and Custom Matchmaking add-ons for the Photon PUN 2 plugin.
Learn to make a Custom Matchmaking system using the Photon Plugin
For this tutorial on how to use the Photon 2 plugin in Unity, I will be teaching you how to make a custom matchmaking system. This will allow you to connect to lobbies, create rooms, search rooms, and join rooms. This type of matchmaking system can be found in popular games such and Battlefield, PUBG, and Insurgency.
make sure you watch the first video of this series before watching this video. https://youtu.be/02P_mrszvzY
Main Menu UI in Unity
For this lesson, we will begin by showing you how to set up your UI system for your main menu scene. You will have the main menu panel which will have one button for connecting to the Photon lobby. We will then need a Lobby panel which will have two input fields for creating new rooms. We will then need two buttons, one for creating a room and one for returning to the main menu panel. This panel will also need a container to hold all the room listing objects. The last panel we will need for this scene is the room panel. This panel will need two, once for starting the game and loading the multiplayer scene and one for leaving the currently connected room. This panel will also need another container for holding all the player listing objects.
Scripting the Lobby Controller
Next up we will open our scripts need for this custom matchmaking system. For the lobby controller script, we need to enable the lobby connect button once we have connected to the master photon servers. We then need to make a public function for this lobby connect button. in this function, we will connect the player to a photon lobby using PhotonNetwork.JoinLobby(); Once our player has connected to a photon lobby the OnRoomListUpdate callback function will begin sending updates for what rooms are in the lobby. We will use this callback function to instantiate room listing object into our container object. Next, we will create public functions to pair to the different UI object we have for creating new rooms.
Scripting the Room Controller
Next, we will switch over to the room controller script. In this script, we will first use the OnJoinedRoom callback function for updating all the player listings in the container of our room panel. We will also do the same for when other players join and leave the current room. To do this we will use the OnPlayerEnteredRoom and OnPlayerLeftRoom callback functions. The last thing we need to do for this script is creating public functions, one for the start game but and the second for the leave room button. The start game function should load all the players into the multiplayer scene using PhotonNetwork.LoadLevel(); via the master client.
Scripting the Room Button
The last script that we need for this tutorial is the script attached to the room listing prefab. This room button script needs to have a public function for updating the room name and room size. This function is called in the lobby controller when the room listing is instantiated on the room container object. This script also needs to have a public function for the on click on this button object. This function should have the players then join the room of this room listing object via the room name. This is done by using PhotonNetwork.JoinRoom( roomName );
Applying Code to Unity Scene
Back in Unity, we need to attach these script to their respective objects and then initialize all the need variables in the inspector. We will then need to set the OnClick and OnValueChanged functions for any necessary UI objects. This will require you to create the room listing prefab and player listing prefab objects. Once you have done all this you should then have a working custom matchmaking system for your next multiplayer game.
